
.png)
EASY KNIT DOG BLANKET TUTORIAL
- Wendy Orlando
- Sep 29, 2022
- 6 min read

Updated: May 19
We are very lucky to have adopted a wonderful pooch.
When we first got him we wanted to make sure that he would feel as settled and happy as he could. To make the transition from his previous home to ours we made sure that he had something familiar with him that would bring comfort as he started out his new life with us. Although we got him new bedding and toys, we bought home the blanket that he had slept on so that he had something that smelt of him.
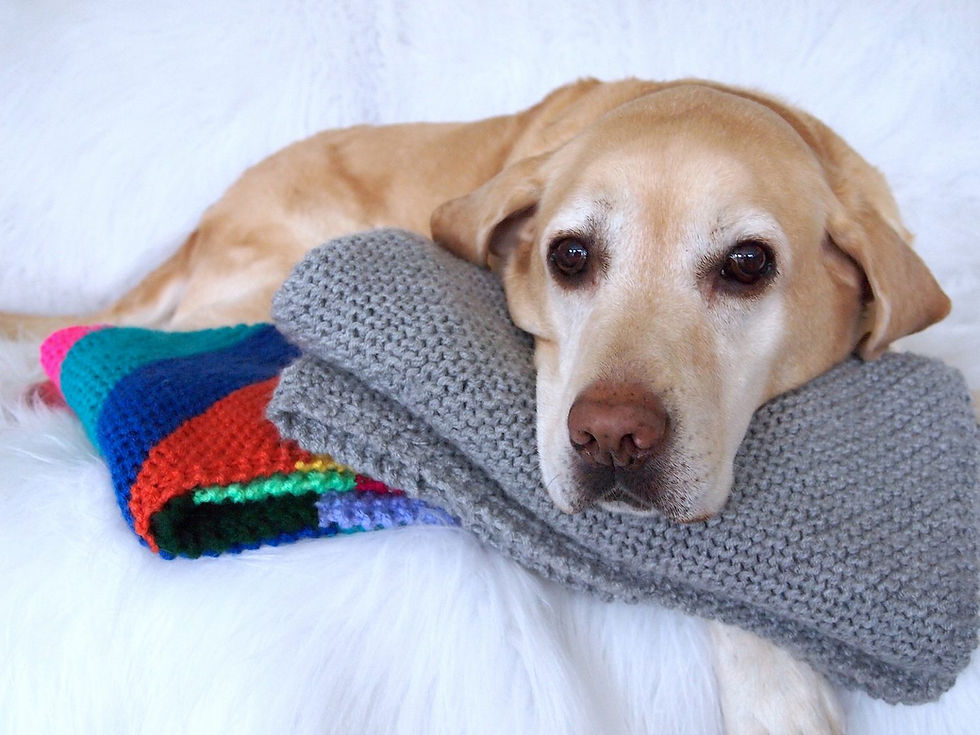
THESE BLANKETS ARE JUST PERFECT!
The one pictured below is size medium.

They are super easy to make, even a novice knitter will handle this pattern with ease. All you need to be able to do is cast on, garter stitch, increase, decrease, cast off.
There’s no fancy pattern to tackle but the end result is gorgeous. As the blanket is worked in increases, then decreases it makes the design look much harder than it is.
You can make them using all your oddments, the animals won’t mind. They will just be happy to receive them. The striped blanket is a size small.

Let’s get started.
HERE’S WHAT YOU NEED
Wool (It doesn’t matter what thickness or type as anything goes)
Small Blanket (approx 225g) 54cm square
Medium Blanket (approx 450g) 76cm square
Large Blanket (approx 675g) 98 cm square
These measurements and quantities are a rough guide. It will depend on your tension, yarn and needles used.
6mm Knitting Needles (long needles are best as the blanket will be wide)
or you can use a 6mm circular needle (we used these as they are great for large projects)
A wool darning needle – to sew in ends
scissors
row counter (optional)
If you want to make a stripey blanket and want the same amount of rows for each stripe, you can download the pdf chart here:

STITCHES
knit stitch = hold the needles in the starting position, push the tip of the right needle into the first loop on the left needle, wrap the yarn around the right needle, pull the right needle through the loop, pull the loop off the left needle
cast on (CLICK HERE TO WATCH)
increase stitch (this video explains the increase stitch) (CLICK HERE TO WATCH)
decrease stitch (CLICK HERE TO WATCH)
cast off (CLICK HERE TO WATCH)
HERE’S how you make a knitted dog blanket
Before you begin it’s a good idea to wind your wool into balls or cakes. We love using them and they are so easy to make. Winders are available and make light work of turning your ball into a yarn cake. The advantage of working with these is that the strand is pulled from the centre while keeping the wool stable without it rolling about all over the place.
This is important when you are working with multiple strands at the same time as they snag around each other and you spend all your time trying to unravel a mess. Balls are fine too and a top tip is to keep them in separate containers to again stop them rolling about and getting tangled. We are using UK Double knit wool and two strands together.
ONE FINAL THING BEFORE WE BEGIN IS TENSION.
It’s not really important for this project as the animals won’t notice. Having said that it is important to keep an even tension throughout so that the stitches look nice and uniform. When working with more than one strand, smooth them as you go so there are no kinks. If they are uneven it will make your project look messy.

With two strands make a slip knot. There’s a bitesize tutorial here to get you started (CLICK HERE FOR SLIP KNOT & CAST ON)

THE SIZING OF THE BLANKETS IS APPROXIMATE.
If you prefer you can work the increase rows until your blanket measures the size you want. To check the size, simply measure the length of one of the straight sides. Don’t measure the length of the stitches across the needles as these are on the diagonal. It doesn’t matter how many rows yours has. If you are following the striped chart, work the rows shown so that the stripes are even. However, if you want to do random size stripes then change colour when you fancy.
One last point on needle size. We used a pair of 6mm needles. Animals have claws and therefore need a close weave blanket or they may get caught in it. 6mm makes the stitches nice and close together. You can go up or down a size but that will alter the tension and quantity you need. Take care when you choose the weight of the yarn, especially where small dogs are concerned, as the blanket may be too heavy.
Lastly, you don’t have to use a double strand. Use one strand and smaller needles if you prefer but you will need to work a lot more rows to get the desired length.
Using 6mm needles, cast on 3 stitches.

THE PATTERN IS THE SAME THROUGHOUT THE BLANKET.
First, we increase until we have the length we want, then work straight for 2 rows and then decrease to the end. It really is that simple.
The increase row is worked as follows – Knit 1, increase in the 2nd stitch, knit to end. As you increase in the 2nd stitch only on every row, you will add 1 stitch at a time. Increasing in this way creates nice even sides and will create a lovely square blanket.

Work the increase sequence of (knit 1, increase in 2nd stitch, knit to end) for as many rows as you need to get the length you want.
Small blanket – increase until you have a total of 100 stitches.
Medium blanket – increase until you have a total of 136 stitches.
Large blanket – increase until you have a total of 172 stitches.
These are the rows that correspond with the charts.
They are only a guide.
If you are working in stripes and following the pattern, change colour on the number row that is indicated on the chart. The charts are easy to read. The first column is the row number, the next is how many stitches you should have in that row. The last column shows you the colour to use.
You choose the colours and it’s a great chance to use up all your oddments. As the blanket is worked in garter stitch (every row knit), when you change colour you will see that one side is two separate colours. On the reverse side, you will see that the two colours intertwine and give a different effect. If you are working your own stripes with oddments, you may find that you don’t always get the same effect on one side. This is perfectly fine and adds to the look of the blanket. If you do want it to look even on both sides, just make sure that you change the colour from the same end each time.

Once your blanket is the length you want work 2 rows of garter stitch. This is the same for all the sizes.
You are now ready to start your decrease rows.
They are exactly the same as the increase except that you decrease on the 2nd and 3rd stitch instead.
The sequence for this decrease row is knit 1, decrease over the 2nd and 3rd stitch, knit to end. You can see how it’s done here (CLICK HERE FOR DECREASE STITCH)
Keep working the decrease sequence until you have 3 stitches left on your needle.
To finish the rows, cast off the remaining 3 stitches. (CLICK HERE FOR CAST OFF TUTORIAL)
Cut yarn and pull through to secure.
To complete the blanket sew in all the ends. Make sure that you weave them back and forth so they won’t pull out.
Your blanket is now ready to go to its new home.

So if you have some spare time and leftover yarn, how about making a blanket for a furry friend.
If you want to know more or fancy getting involved in donating, head on over to Battersea and let’s get everyone creating.
We love seeing your creations so don’t forget to tag us in your makes #CraftyCoCreations
Happy knitting
The Crafty Co
x

Comments